


Aleo Testnet 3
Report IssueAleo is a blockchain that uses zero-disclosure proof technology. The use of this technology allows for a high level of privacy when working with the network - non-disclosure of the sender's wallet and transaction amount.
Details Score
Score Basic Information
Short Review Aleo Testnet 3
Crypto project Aleo Testnet 3 is classified as a Blockchain.
Aleo - Setup Guide
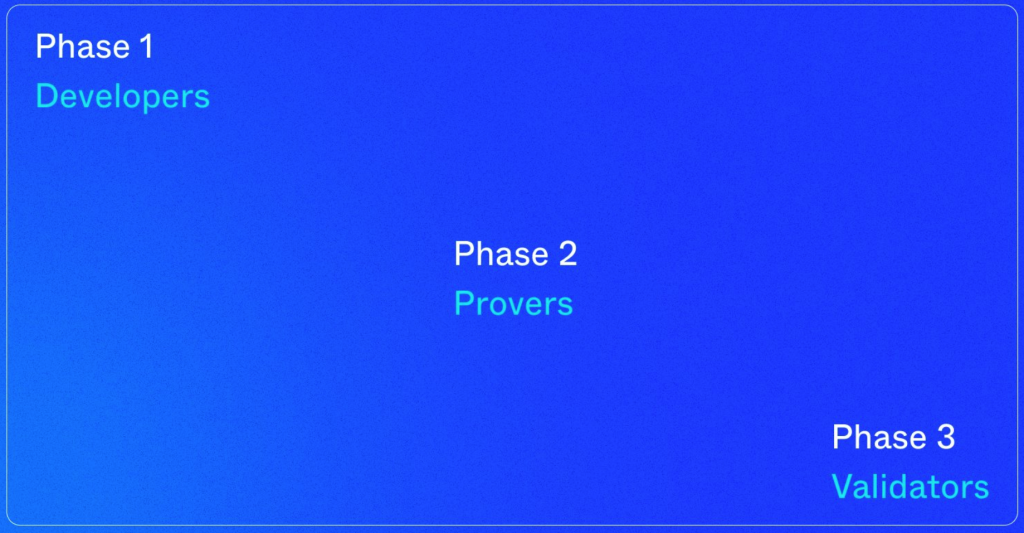
Phases
- August 2022 - Developers can start writing, deploying and running software;
- September 2022 - Testers start solving coinbase puzzles (PoSW) to earn credits, and Aleo team launches bug bounty program for snarkOS and snarkVM;
- October 2022 - Accumulator and Reward Launch Validators
The prover incentive period
The prover incentive period will run from December 2, 2022, at 00:00 UTC to January 26, 2023, at 23:59 UTC, or until the network has emitted 7.5M credits, whichever comes first.
Rewards can be obtained in the following ways:
- Writing, Deploying, and Running Programs
- Finding bugs in the protocol
- PoSW proof generation and coinbase reward
- Block generation as validators
Token Awards for the Incentive Period
As mentioned in our prior blog post, we have set aside 25M Aleo credits for Testnet 3 incentives. Prover incentives account for 30% or 7.5M credits.
Rewards can be obtained in the following ways:
Writing, Deploying, and Running Programs
Finding bugs in the protocol
PoSW proof generation and coinbase reward
Block generation as validators
1. Overview
snarkOS is a decentralized operating system for zero-knowledge applications. This code forms the backbone of Aleo network, which verifies transactions and stores the encrypted state applications in a publicly-verifiable manner.
2. Build Guide
2.1 Requirements
The following are minimum requirements to run an Aleo node:
- CPU: 16-cores (32-cores preferred)
- RAM: 16GB of memory (32GB preferred)
- Storage: 128GB of disk space
- Network: 10 Mbps of upload and download bandwidth
Please note to run an Aleo Prover that is competitive, the machine will require more than these requirements.
2.2 Installation
Before beginning, please ensure your machine has Rust v1.65+ installed. Instructions to install Rust can be found here.
Start by cloning this Github repository:
git clone https://github.com/AleoHQ/snarkOS.git --depth 1
Next, move into the snarkOS directory:
cd snarkOS
[For Ubuntu users] A helper script to install dependencies is available. From the snarkOS directory, run:
./build_ubuntu.sh
Lastly, install snarkOS:
cargo install --path .
3. Run an Aleo Node
3a. Run an Aleo Client
Start by following the instructions in the Build Guide.
Next, to start a client node, from the snarkOS directory, run:
./run-client.sh
3b. Run an Aleo Prover
Start by following the instructions in the Build Guide.
Next, generate an Aleo account address:
snarkos account new
This will output a new Aleo account in the terminal.
Please remember to save the account private key and view key. The following is an example output:
 Attention - Remember to store this account private key and view key.

  Private Key  APrivateKey1xxxxxxxxxxxxxxxxxxxxxxxxxxxxxxxxxxxxxxxxx  <-- Save Me And Use In The Next Step
     View Key  AViewKey1xxxxxxxxxxxxxxxxxxxxxxxxxxxxxxxxxxxxxxxxxxxx  <-- Save Me
      Address  aleo1xxxxxxxxxxxxxxxxxxxxxxxxxxxxxxxxxxxxxxxxxxxxxxxx  <-- Save Me
Next, to start a proving node, from the snarkOS directory, run:
./run-prover.sh
When prompted, enter your Aleo private key:
Enter the Aleo Prover account private key:
APrivateKey1xxxxxxxxxxxxxxxxxxxxxxxxxxxxxxxxxxxxxxxxx
4. FAQs
1. My node is unable to compile.
- Ensure your machine has
Rust v1.65+installed. Instructions to install Rust can be found here. - If large errors appear during compilation, try running
cargo clean. - Ensure
snarkOSis started using./run-client.shor./run-prover.sh.
2. My node is unable to connect to peers on the network.
- Ensure ports
4133/tcpand3033/tcpare open on your router and OS firewall. - Ensure
snarkOSis started using./run-client.shor./run-prover.sh.
3. I can't generate a new address
- Before running the command above (
snarkos account new) trysource ~/.bashrc - Also double-check the spelling of
snarkos. Note the directory is/snarkOS, the command issnarkos
5. Command Line Interface
To run a node with custom settings, refer to the full list of options and flags available in the snarkOS CLI.
The full list of CLI flags and options can be viewed with snarkos --help:
snarkOS
The Aleo Team <hello@aleo.org>

USAGE:
    snarkos [OPTIONS] <SUBCOMMAND>

OPTIONS:
    -h, --help                     Print help information
    -v, --verbosity <VERBOSITY>    Specify the verbosity [options: 0, 1, 2, 3] [default: 2]

SUBCOMMANDS:
    account    Commands to manage Aleo accounts
    clean      Cleans the snarkOS node storage
    help       Print this message or the help of the given subcommand(s)
    start      Starts the snarkOS node
    update     Update snarkOS
The following are the options for the snarkos start command:
snarkos-start
Starts the snarkOS node

USAGE:
    snarkos start [OPTIONS]

OPTIONS:
        --beacon <BEACON>          Specify this as a beacon, with the given account private key for this node
        --client <CLIENT>          Specify this as a client, with an optional account private key for this node
        --connect <CONNECT>        Specify the IP address and port of a peer to connect to [default: ]
        --dev <DEV>                Enables development mode, specify a unique ID for this node
    -h, --help                     Print help information
        --logfile <LOGFILE>        Specify the path to the file where logs will be stored [default: /tmp/snarkos.log]
        --network <NETWORK>        Specify the network of this node [default: 3]
        --node <NODE>              Specify the IP address and port for the node server [default: 0.0.0.0:4133]
        --nodisplay                If the flag is set, the node will not render the display
        --norest                   If the flag is set, the node will not initialize the REST server
        --prover <PROVER>          Specify this as a prover, with the given account private key for this node
        --rest <REST>              Specify the IP address and port for the REST server [default: 0.0.0.0:3033]
        --validator <VALIDATOR>    Specify this as a validator, with the given account private key for this node
        --verbosity <VERBOSITY>    Specify the verbosity of the node [options: 0, 1, 2, 3] [default: 2]
6. Development
6.1 Quick Start
In one terminal, start the beacon by running:
cargo run --release -- start --nodisplay --dev 0 --beacon ""
In a second terminal, run:
cargo run --release -- start --nodisplay --dev 1 --prover ""
This procedure can be repeated to start more nodes.
6.2 Operations
It is important to initialize the nodes starting from 0 and incrementing by 1 for each new node.
The following is a list of options to initialize a node (replace XX with a number starting from 0):
cargo run --release -- start --nodisplay --dev XX --beacon ""
cargo run --release -- start --nodisplay --dev XX --validator ""
cargo run --release -- start --nodisplay --dev XX --prover ""
cargo run --release -- start --nodisplay --dev XX --client ""
cargo run --release -- start --nodisplay --dev XX
When no node type is specified, the node will default to --client.
Clean Up
To clean up the node storage, run:
cargo run --release -- clean --dev XX
